Brief Description: Flap position switch installation...
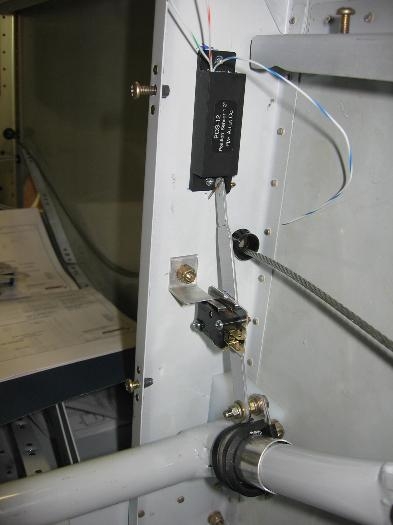
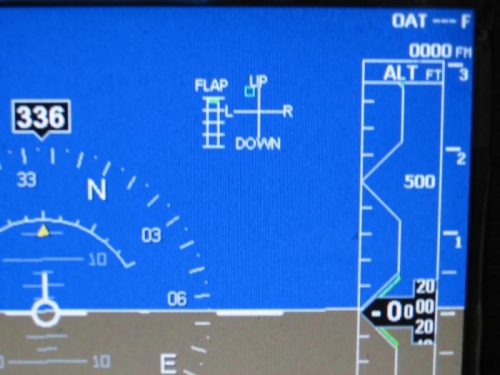
After having determined a good position to mount the flap position sensor and determined the proper geometry for the sensor actuation link I replaced the nylon clamp with an MS21919 cushion clamp, drilled the postion sensor mount holes and bolted it to the bulkhead. Then I turned to the AOA system flaps not up switch. After reflecting on a number of possible ways to mount the switch I ended up deciding on mounting it to the actuation link for the flap position sensor. I fabricated a mount plate for the AOA switch, riveted it to the flap position sensor actuation link and bolted the AOA switch to the mount. Then I fabricated an angle bracket that I bolted to the bulkhead that would act as the AOA switch actuator. With the foregoing items fully installed I turned to the wire routing for the two switches. I removed the floor panels on the right side of the cabin for access. Since the aileron trim actuator is also in this wire routing area I investigated how to hook up the tim actuator and carry out a functional check of the actuator through the control stick grip switching and also calibrate the EFIS trim indication. Once I had this figured out and functional I called it a day.
Ray Allen pos-12 flap position switch and AOA flap switch mounted
Aileron trim servo wiring temporarily installed for functional and EFIS indication calibration